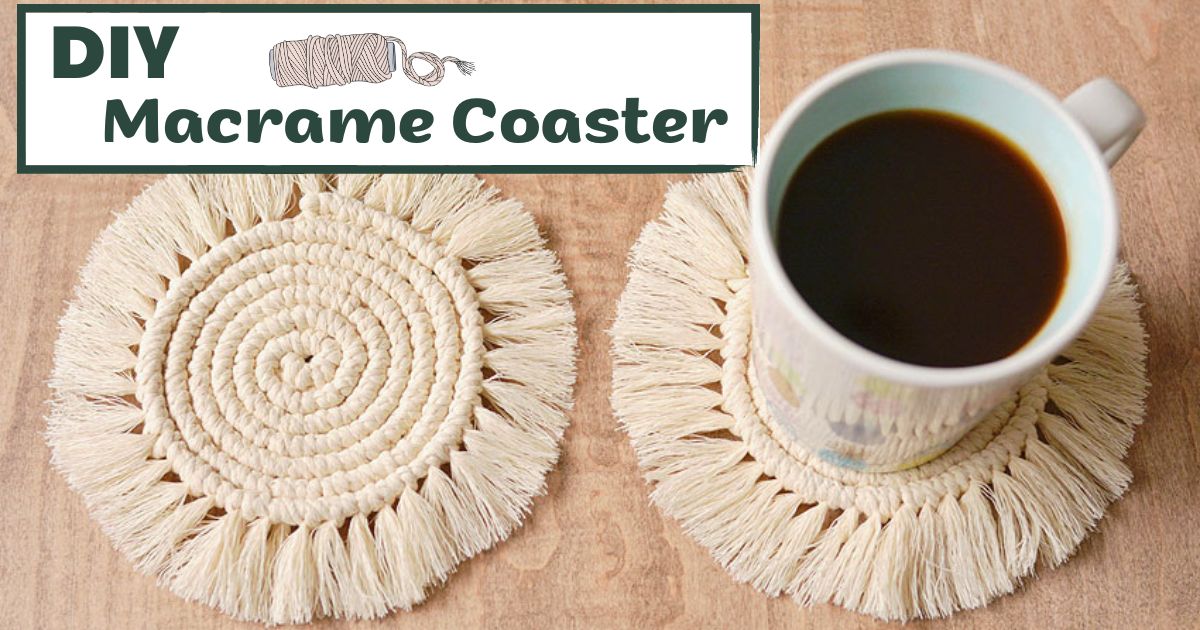
Macrame Friendship Bracelet: Easy Instructions In 9 Steps
Let’s take a trip down memory lane, back to those awesome summer camp days, sleepovers, and, of course, making those cool friendship bracelets every chance we got. Those bracelets? They’re not just for show. They’re like little memories you can wear, reminding us of good times and tight friendships. While the idea of friendship bracelets has been around forever, adding macrame to the mix makes them even cooler. So, come with me, and let’s dive into the world of macrame friendship bracelets. I’ll spill the beans on those knots and help you make a bracelet to brag about!
Basic Knots for Crafting a Macrame Friendship Bracelet
First up, the square knot. It’s the starting point for so many awesome patterns. If you’re into macrame friendship bracelets, this is the knot to know. Quick heads up: the two cords on the outside (we call them working cords) will use way more than the middle ones (those are filler cords). Ready to get your knot on? Let’s do it!
Left Square Knot
- Grab four cords. Take that left cord and lay it over the middle ones, kinda making it look like the number ‘4’.
- Now, move the right cord over the left one, slide it behind the middle cords, and loop it through that left cord’s loop. Pull it tight, and boom! You’ve got yourself a half knot.
- Now for the other half, just do the opposite. The right cord goes over the middle ones in a backward ‘4’. Then, the left cord goes in front, behind, and through the loop. Tighten that bad boy up, and bam – a complete left facing square knot!
Right Square Knot
- Bend the right cord over the middle ones, but this time it looks like a backward ‘4’.
- Bring the left cord over the bent one, take it behind the middle ones, and loop it through. Pull it tight, and you’ve got the first half down.
- Now, the left cord goes over the middle cords. The right one goes behind and through the loop. Tighten it, and there you go – a slick right facing square knot!
The thing about the square knot, whether it’s left or right, is it’s super versatile. Whether you’re feeling simple vibes or something more flashy, this knot’s got your back. Like I always say, in the macrame world, anything’s possible. With the square knot in your pocket, you’re already rocking it!
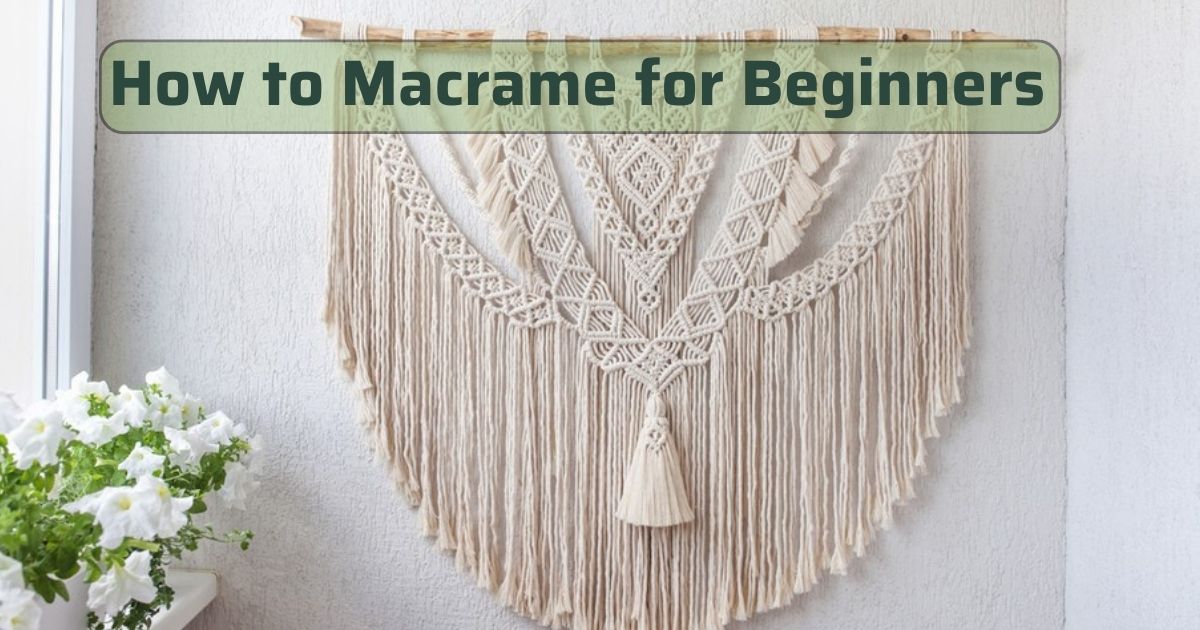
Ready to take your macrame skills to the next level? Discover 7 essential knots that will transform your craft. Read more now!
How to Make Macrame Friendship Bracelets
Making a macrame friendship bracelets isn’t just about stringing up some threads; it’s all about creating memories and celebrating your pals. Over time, I’ve totally fallen in love with this craft. Let’s make a snazzy bracelet using some nylon cord and fancy gold embroidery thread, alright?
Stuff You’ll Need
Before we get started making macrame friendship bracelets, here’s what you’ll need:
- 0.8mm nylon cord (the sturdy kind)
- Shiny dark gold embroidery thread
- Some tape (trust me on this)
- Scissors
- A lighter
- A dab of super glue
Let’s Make Macrame Friendship Bracelets
- Cut the nylon cord and gold thread into two lengths: one that’s 16″ and one that’s 24″. For the longer gold bit, tape the end to stop it from fraying everywhere.
- Grab all the cord ends and tie them into a knot about 3 inches from the top. Slap some tape on that knot to keep it steady.
- Stretch the two shorter 16″ cords down the middle of where you’re working. Tape ’em down so they stay put. The longer cords (one nylon and one gold) should chill on either side of these middle cords.
- Take the left gold cord over the middle ones. Now with the right cord, make sure it goes over the middle but under the left one. Pull the right cord under the middle cords and through the left loop. Tighten it up, and voila – that’s a right facing square knot! To make its twin (the left facing one), just flip the steps.
- Keep repeating the pattern until your bracelet is almost wrist-length. Make sure to leave about 1.5-2 inches for the clasp at the end.
- Finish off with a knot like how you started. Snip off any extra gold threads on both ends.
- Flip the bracelet to the back and tape the middle part down. Lift up the two end cords, letting them overlap the center ones. Get an 8″ cord and put it under these cords. The knotting bit is just like before, ending up with 3-4 strong square knots.
- Snip off the ends but leave a smidge, like 1-2mm. Now, lightly toast these ends with your lighter. They’ll melt into tiny blobs. Squish these melted bits with the flat part of your lighter. If you’re feeling extra cautious, slap a touch of super glue on the tips.
- Tie the bracelet ends together and snip off any leftovers.
Boom! You’ve just made a super cool macrame friendship bracelet. Every knot you’ve tied is filled with vibes and good times. Perfect to wear or gift to a buddy.
Tips for Crafting the Perfect Macrame Friendship Bracelet
Making a macrame friendship bracelet? It’s like going on a super cool adventure filled with creativity, surprises, and yeah, a few bumps along the way. Over time, I’ve figured out that making a macrame friendship bracelet is a blast, having some tips up your sleeve makes your bracelet even more awesome and totally you.
Making Your Macrame Friendship Bracelet Pop
- Color Vibes: Picking colors is basically setting the vibe for your bracelet. Go for colors that look awesome together. Whether you want a pop of surprise or just some colors that chill together, it’s all on you. And hey, don’t be afraid to mix up different threads to jazz things up.
- YouTube is Your BFF: Everyone’s gotta start somewhere. If you’re stuck on a knot, no worries. There’s like a million online videos for every knot you can think of. Remember, all the pros started just where you are.
- Chill Out and Knot: Rome didn’t pop up overnight, and your bracelet won’t either. It’s cool if things don’t work out right away. Just keep in mind that every goof-up is just another trick you’ve learned. Before you know it, you’ll be knotting like you’ve been doing it forever!
Getting Creative: Let’s jazz things up!
- Mix Patterns: Once you’ve got the basics like the chevron design, you’re good to go! Try different rows, toss in some fresh knots, go wild!
- Add Some Bling: A bit of sparkle can totally up your game. Think beads, cute charms, even sparkly sequins. These little extras make your bracelet pop.
- Do Your Thing: Yeah, there’s tons of patterns out there. But nothing beats having your own style. Got a cool idea? Just roll with it! Let that bracelet tell your story.
Making a macrame friendship bracelet is like a blast from the past mixed with new adventures. A bit of guidance, a sprinkle of patience, loads of creativity – anyone can nail it. Oh, and remember, keep trying new things and having a blast. And if you’re up for more tips, tricks, or just some inspo, check out BeanDaikon. Get knotting, and cheers to stronger friendships with each twist and turn!